How to add Discord alarms to self-hosted Netdata (Coolify)
Having monitoring without alerts is like having a laptop without internet. It's good to have, but mainly useless.

Why do we need monitoring alarms or alerts? Downtime could cause money loss, client loss, reputation loss, and more.
I've already set up Netdata in Coolify in my previous article on How to deploy monitoring on your VPS. You can follow along from there or just use this one as it'll still provide a fully working solution in the end. It took me some time to make the alarms work in Coolify.
The article structure is simple:
- Why do we need alarms and what could go wrong?
- Project structure and file contents
- Potential Coolify issues
What could go wrong if we don't have monitoring and alarms?
As mentioned in the beginning a lot of potential issues could occur from having no alarms and downtime.
- Money loss as customers can't buy from a site that ain't there
- Client retention is much harder if they see 404 pages
- Your whole portfolio of products will start having a lower reputation if even one is getting a lot of downtime or unexpected issues
There are more, but you get the picture. Most of those can be avoided with proper logging and monitoring. I'll give you a practical example.
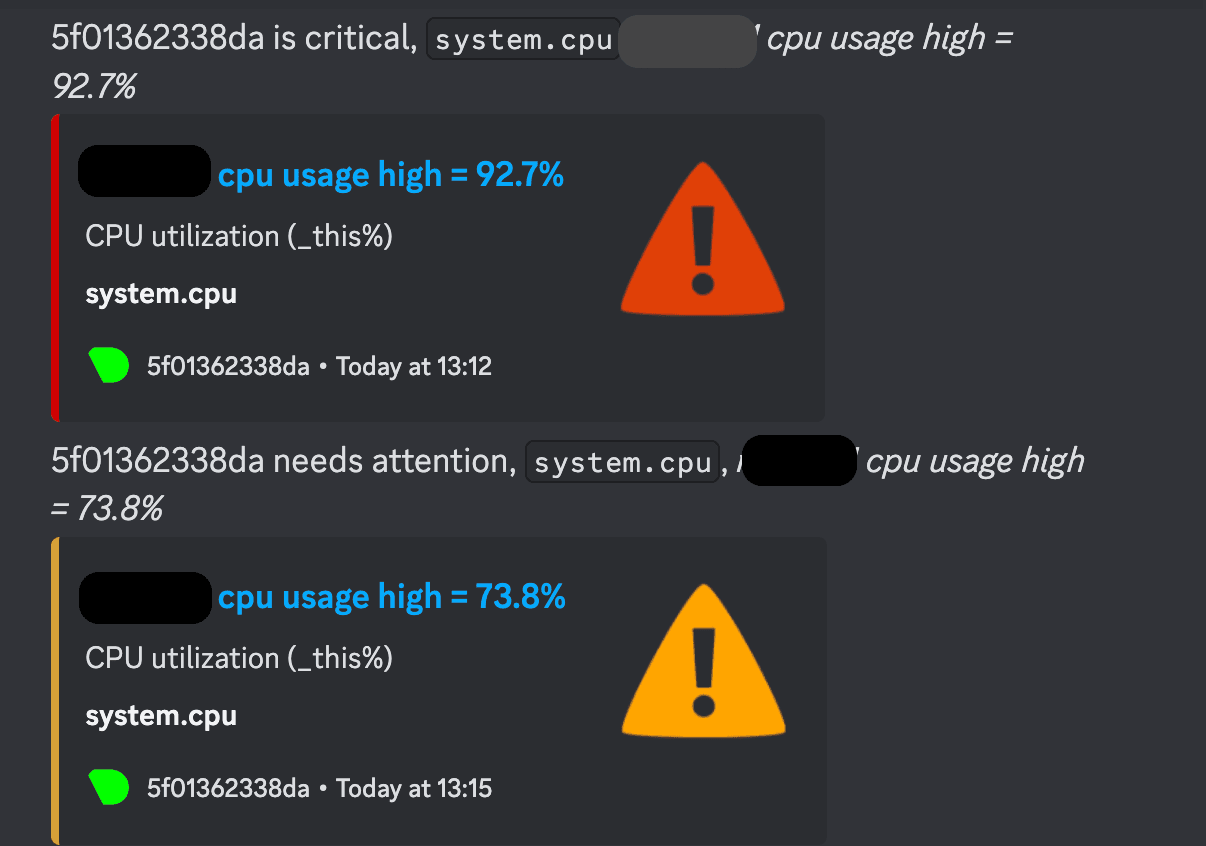
Assume you're having a project hosted on Coolify and you have only 1 server. This server is your Coolify instance, hosting your projects and a build server. One scenario is when you don't have traffic you don't understand that while building the Docker images for your project it gets to 70+ CPU usage. The photo above is a real case scenario.
If you don't take action on time, and users start using your app and you redeploy, it might get downtime or my favorite, just a random error you don't know how to fix. This leads to all mentioned issues above.
Netdata repository structure
We'll keep the repository simple and the folder structure, as it's in the Netdata config, files itself. I'll provide you each of the file's code.
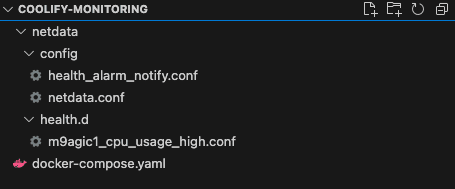
Starting with the simplest one, it's mainly "environment variables" - netdata/config/health_alarm_notify.conf
SEND_DISCORD="YES"
DISCORD_WEBHOOK_URL="https://discord.com/api/webhooks/<id>/<id>"

# if a role's recipients are not configured, a notification will be sent to
# this discord channel (empty = do not send a notification for unconfigured
# roles):
DEFAULT_RECIPIENT_DISCORD=<channel-name>

role_recipients_discord[sysadmin]="${DEFAULT_RECIPIENT_DISCORD}"

# Define how you want the date to look in discord messages
DISCORD_DATE_FORMAT="%a %b %d %H:%M:%S %Z %Y"
If you don't have a Discord webhook already, you can check my article for Discord contact forms where I explain how you could create one.
Moving to the - netdata/config/netdata.conf. Here we define the global configuration for Netdata and how we want it to work. To not go into details what you're interested in is the sections:
- health
- directories
- notifications
- health_alarm_notify (here I had to add the same variables from health_alarm_notify.conf, but I think it was some coolify issue with mapping.)
[global]
  run_as_user = netdata
  web_mode = static-threaded
  db = save

[web]
  default port = 19999

[health]
  enabled = yes
  run at least every seconds = 10
  postpone alarms during hibernation seconds = 60
  default repeat warning = 0
  default repeat critical = 0

[db]
  update every = 1
  enable new charts auto detection = yes
  delete obsolete charts files = yes
  delete orphan hosts files = yes

[directories]
  health config = /etc/netdata/health.d

[registry]
  enabled = no

[notifications]
  enabled = yes
  default repeat warning = 0
  default repeat critical = 0
  discord = yes

[health_alarm_notify]
  discord_webhook_url = "https://discord.com/api/webhooks/<id>/<id>"
  SEND_DISCORD = YES
  DEFAULT_RECIPIENT_DISCORD = <channel-name>
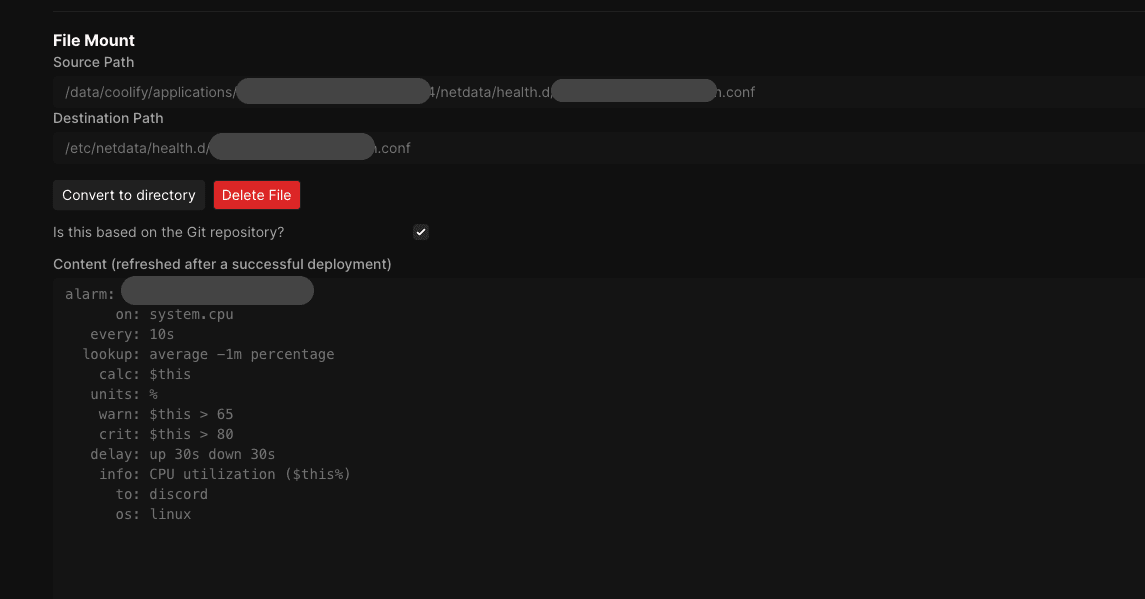
Your next target is the alarm itself. You could create alarms in different ways, as Netdata allows you to use templates or create your own. Their documentation is more or less good on this one. The file name should be - netdata/health.d/random-file-name.conf and the contents as follows:
   alarm: <random-file-name> # I prefer it to be as my file name
      on: system.cpu
   every: 10s
  lookup: average -1m percentage
    calc: $this
   units: %
    warn: $this > 65
    crit: $this > 80
   delay: up 30s down 30s
    info: CPU utilization ($this%)
      to: discord
      os: linux
Here we define the warning or critical values on which we want our alarm to be triggered and where it needs to be sent. I've set here units as percent (%) and the whole system CPU to be watched. While you're testing you could put warn/crit at like 1 and 2, and see if you're receiving alerts.
Hey, writing articles takes a lot of time! If you like them, I would greatly appreciate it if you could give me a follow on X and YouTube (just started there) as I'm building my audience... A subscribe to my newsletter is highly appreciated too, it's in the footer, along with all my social media accounts!
Moving forward to the most important part of your setup, that is the docker-compose.yaml file. We need to map each file to it's corresponding directory, persist the volumes, and set the correct environment.
version: '3.7'

services:
  netdata:
    image: netdata/netdata:v2.1.0
    container_name: netdata
    ports:
      - "19999:19999"  # Netdata web UI on host:19999
    restart: unless-stopped

    # Required for Netdata's full visibility
    cap_add:
      - SYS_PTRACE
    security_opt:
      - apparmor=unconfined

    volumes:
      # Mount only the specific files:
      - ./netdata/config/health_alarm_notify.conf:/etc/netdata/health_alarm_notify.conf
      - ./netdata/config/netdata.conf:/etc/netdata/netdata.conf
      - ./netdata/health.d/m9agic1_cpu_usage_high.conf:/etc/netdata/health.d/m9agic1_cpu_usage_high.conf

      # Persistent data volumes
      - netdata_lib:/var/lib/netdata
      - netdata_cache:/var/cache/netdata

      # System metrics bump
      - /proc:/host/proc:ro
      - /sys:/host/sys:ro
      - /etc/os-release:/host/etc/os-release:ro

      # Docker socket for container metrics
      - /var/run/docker.sock:/var/run/docker.sock:ro

    environment:
      - DOCKER_HOST=unix:///var/run/docker.sock

    healthcheck:
      test: ["CMD", "curl", "-f", "http://localhost:19999"]
      interval: 30s
      timeout: 10s
      retries: 5

volumes:
  netdata_lib:
  netdata_cache:
You can test with this docker-compose and deploy it. I'll leave this for you here and discuss potential issues in the next chapter.
Potential Coolify (Docker) Issues
I had a lot of drawbacks while trying to set this up. One of them was a checkbox... The checkbox on the photo must be clicked if you want to have your files copied from the repository and to the container.
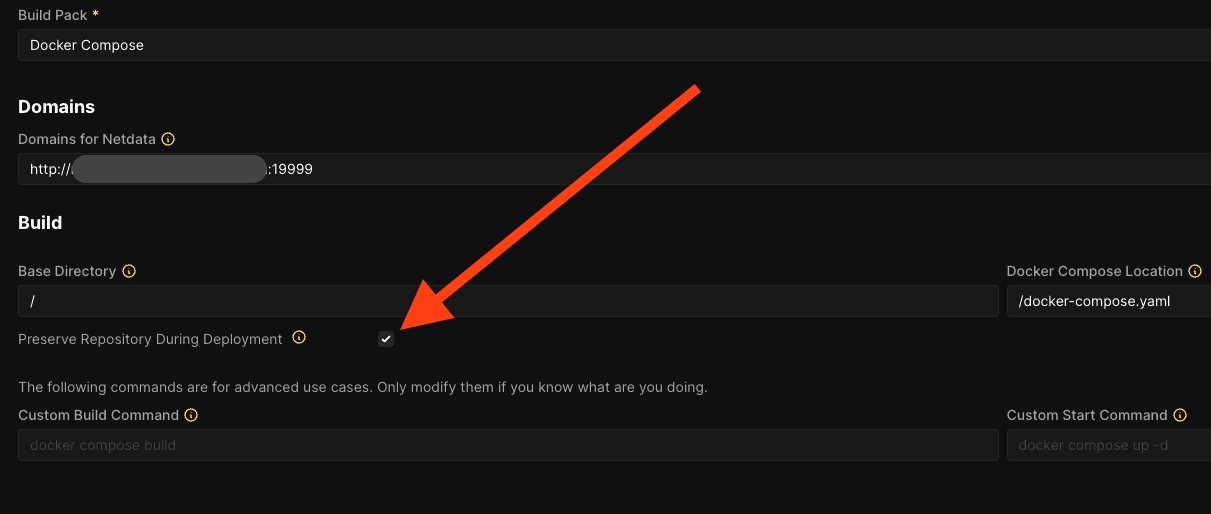
This will bring you closer to the successful deployment. Next was an issue with Docker. If you don't have a file at this place where docker-compose is trying to mount, it'll create it as a directory, instead of a file. If this happens, go to the Storages tab and find each mapping from the docker-compose file. On the photo below we can see that it's already a file, if it's not the button will be Convert to File and you'll need to do that and reload the compose file.
If all is working correctly, you should see your alarm listed in Netdata Alerts -> Running. I hope it helped you!
Don't be pressured by issues to add monitoring, do it beforehand and avoid issues for your users and stress for you.
If you have any questions, reach out to me on Twitter/X or LinkedIn. I've also posted my first YouTube video so a subscription would be nice! A follow is highly appreciated at all places!
You can subscribe to my newsletter below to get notified about new articles that are coming out. I'm not a spammer!
Related articles

Deploy Prometheus and Grafana in Coolify (Code Example)
Step by step tutorial to deploy prometheus and grafana in coolify with human readable names.
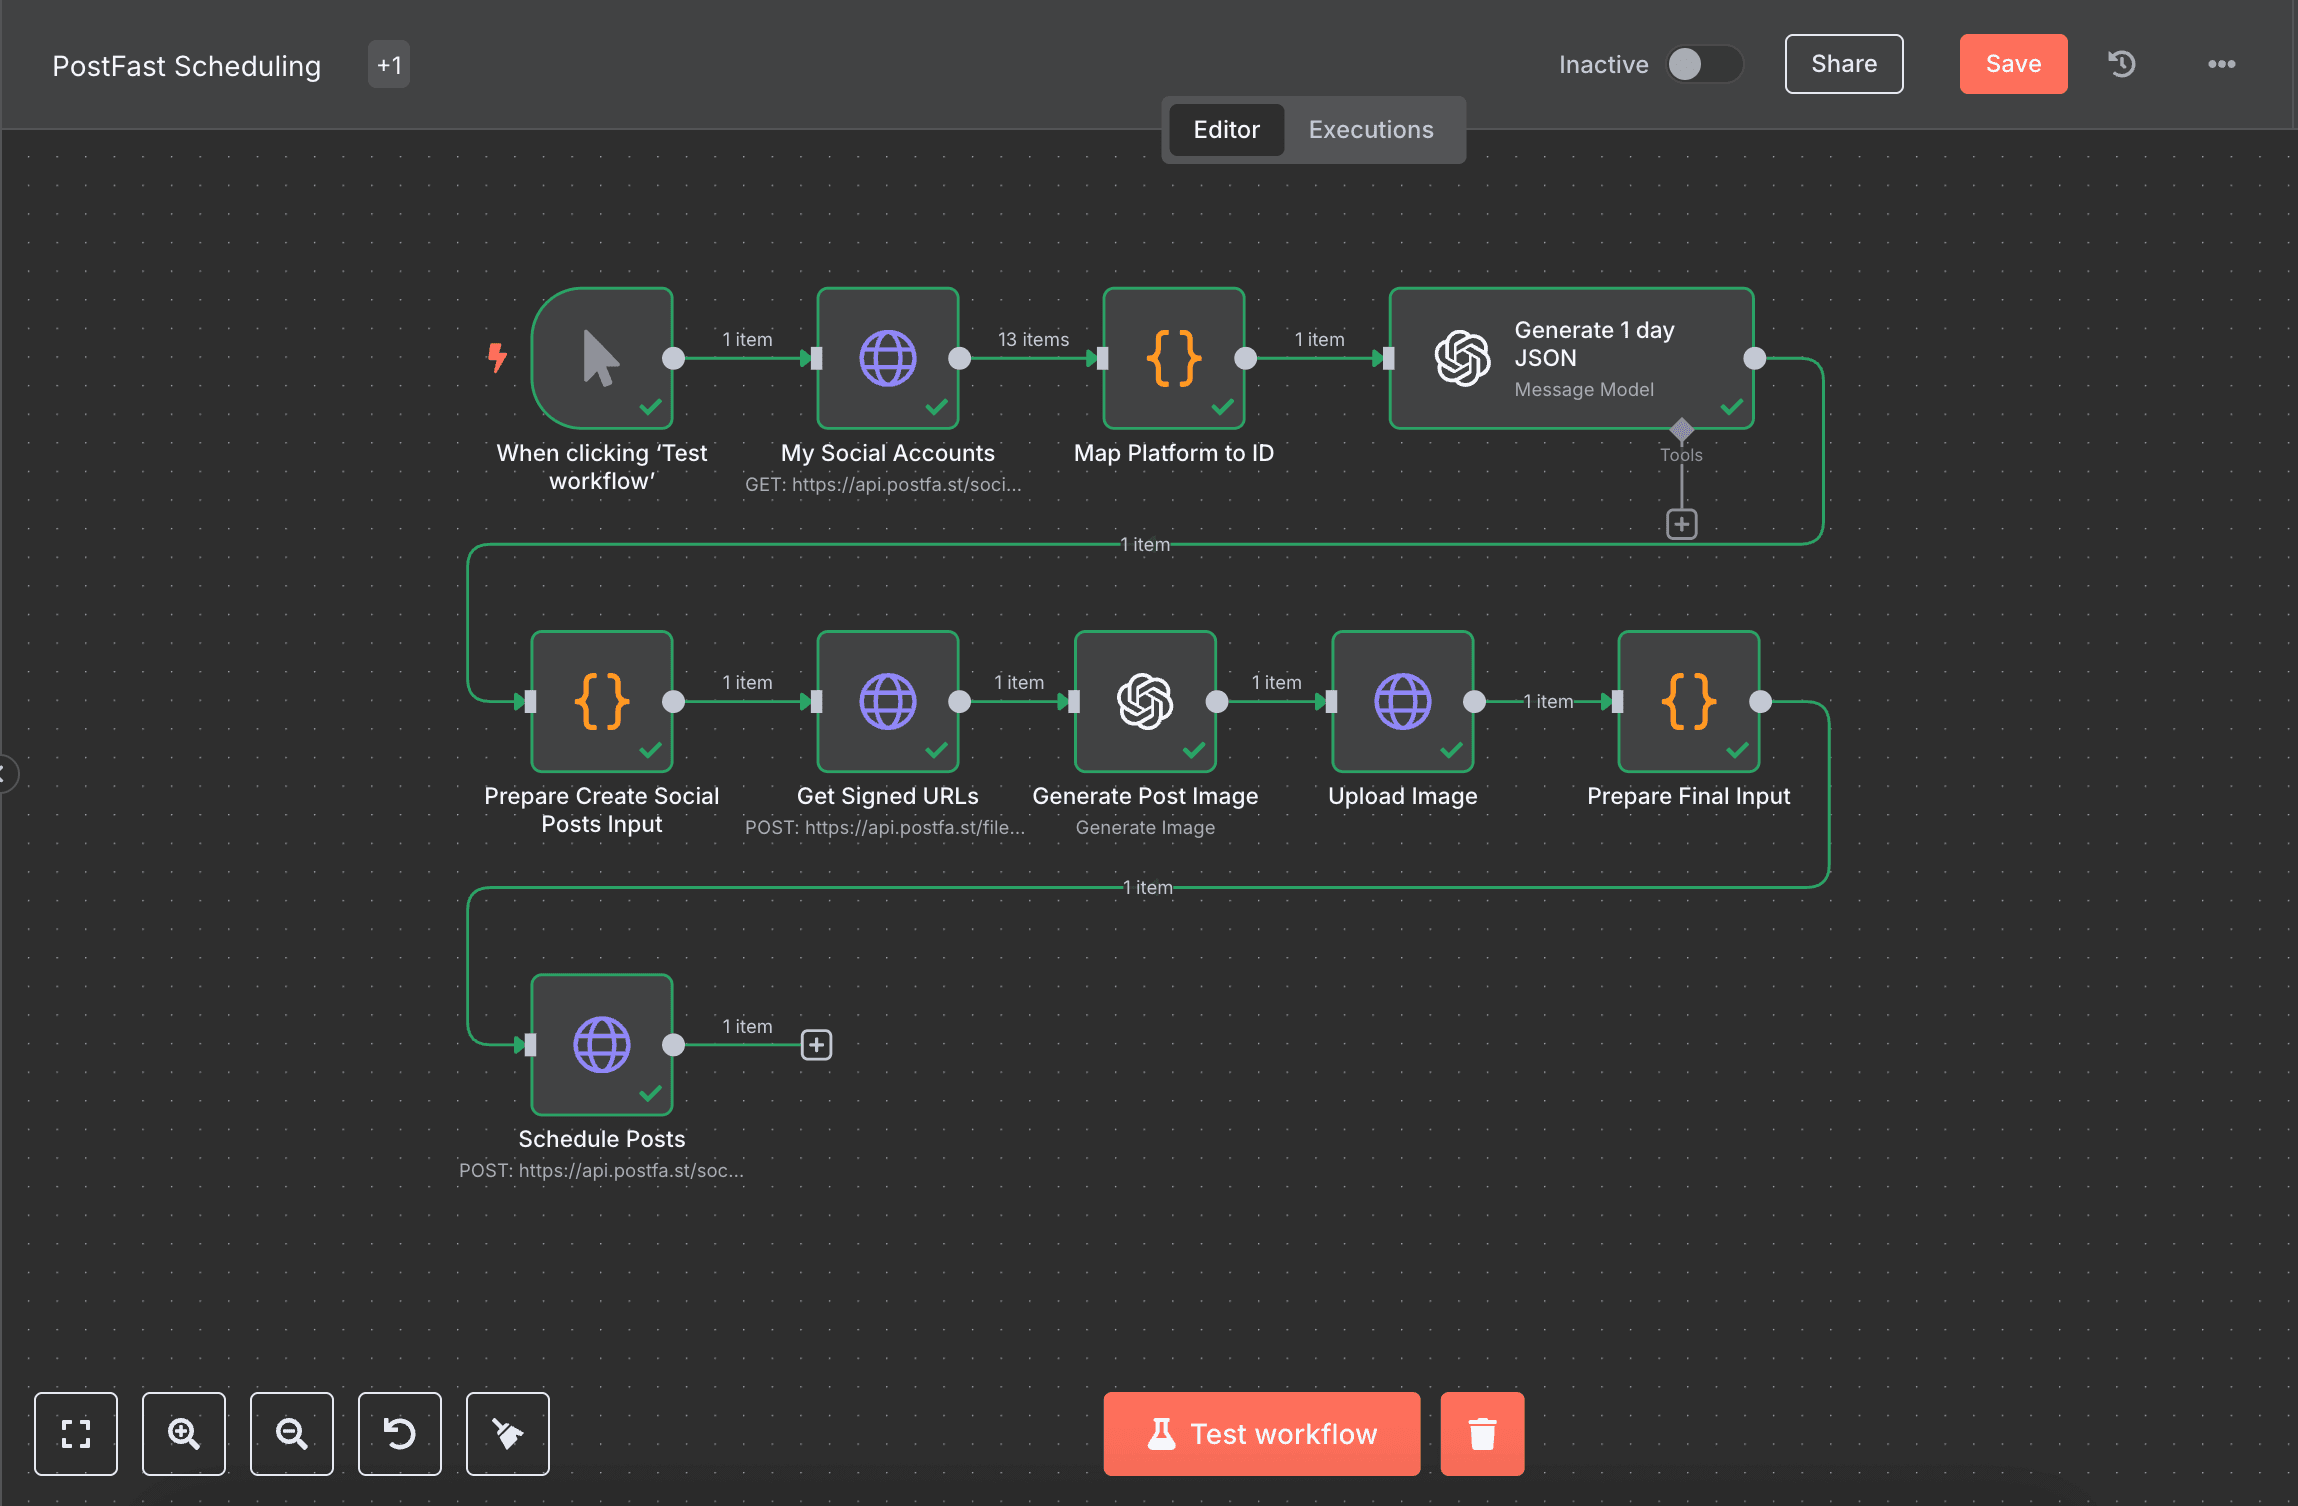
How to automate social media with n8n, AI and PostFast (Download Workflow)
Automating social media should be easy. Self-hosted tools like n8n allowed us to have creative freedom.
How to add REDIS in Coolify with NestJS?
Adding REDIS is a performance boost, and you can easily do so in Coolify.
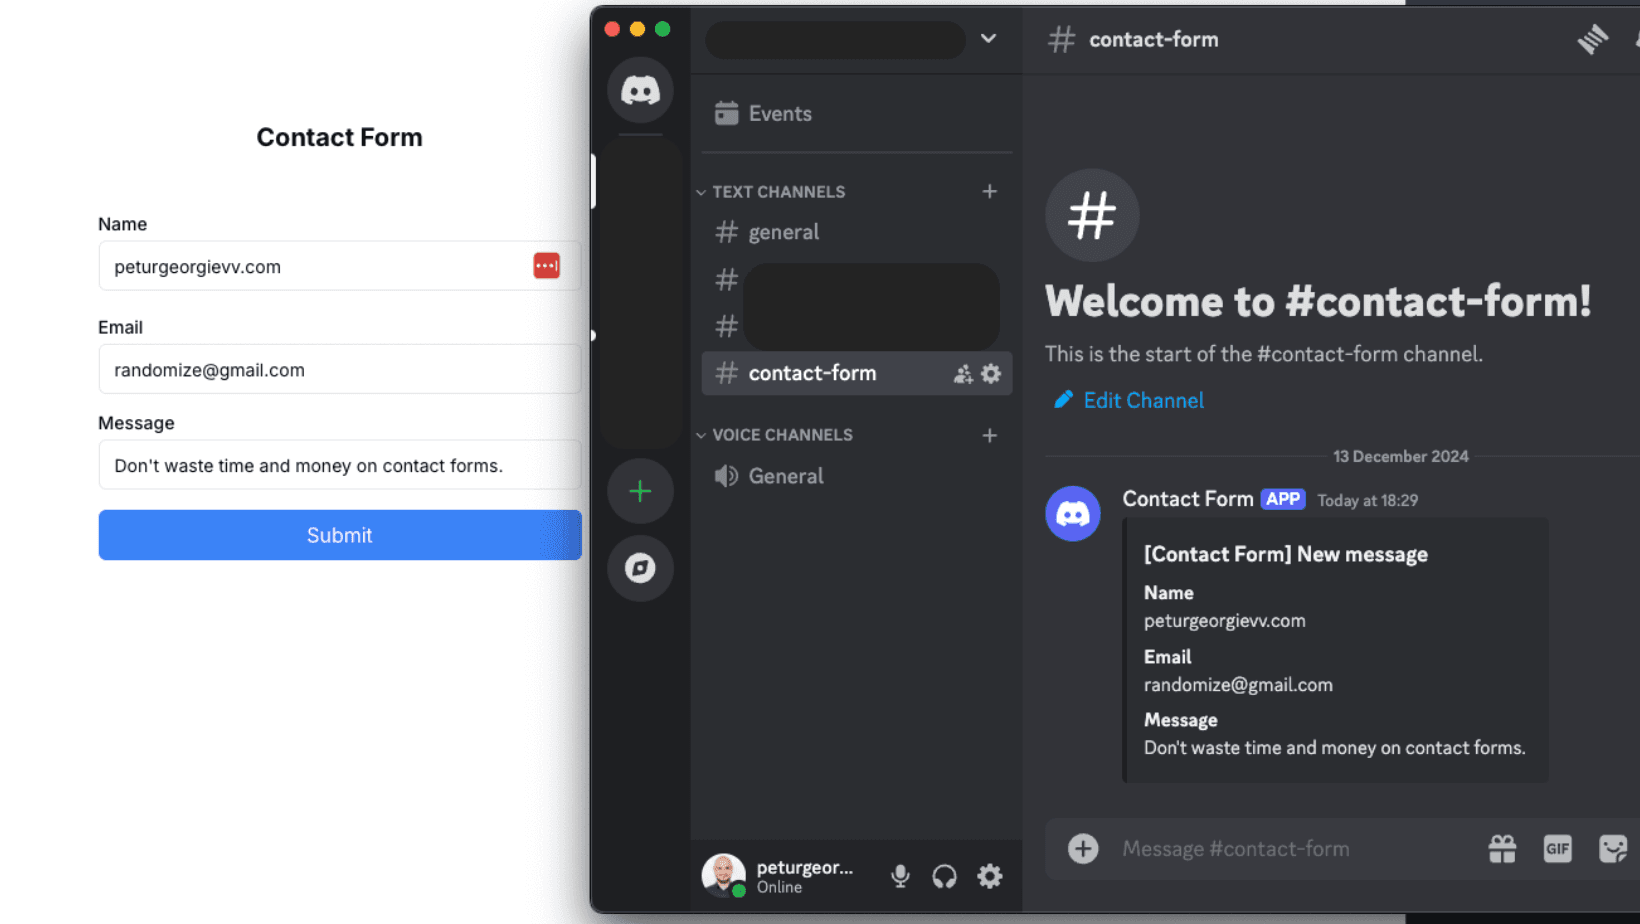
How to Create a Contact Form with Discord and NextJS (FREE)
How to avoid setting up STMP providers and complex email validations and create a discord channel to send contact forms information.

How to Build Robust Integrations for your Application? The production way!
Third-party integrations sound easy, but doing them in a way to not degrade the performance of your app is hard.

Is Coolify Good for Production Deployments?
Self-hosting with Coolify can be a pleasent adventure, but you need to know the pros and cons.
My Newsletter
Subscribe to my newsletter and get the latest articles and updates in your inbox!